Wiring and Earth
I wired my studio to allow for 2 ring mains and some lighting and fans.
All the wires lead back to the corner of the room where the SWA (armoured) cable and the cat5e comes in from the house.
The lighting, fans and one ring used the earth that came from the house. The other Ring (aka: the clean ring) uses a bunch of earth rods and a load of left over concrete reinforcement mesh which I buried around the back of studio. The thinking is that wet soil provides a better earth, so this is all buried near the gutter downpipe. I will pair the guttering up with a load of water buts and a slowly dripping tap to try and keep it at an optimum condition.
Wall preparation, sealing the floor and adding the resilient bar
I wanted 3 walls of the studio covered with plaster, the 4th and final wall has cupboards covering it from floor to ceiling so it doesn’t matter so much how it looks.
In order to achieve the best possible sound isolation, I used a product called resilient bar (aka: resilient channel) to isolate the plasterboard from the walls. Resilient bar is a 2 part long thin sheet of metal which presents two flanges one onto which the plasterboard screws and one that screws to the wall. I recommend you look up how this product works if you’ve never heard of it.
First, I used more of the acoustic membrane (this time the adhesive backed kind) to seal off sound coming from under the floor:


You can see how this also serves to cover where the wires come up from under the floor. “D2” in the picture is a note that I want 2 sockets there and that this is on the dirty earth ring.
I then battened out the wall, to match the thickness of the membrane I added small additional stripes of membrane and attached the batten to this. In the following photo you can see the strips of membrane with battens resting nearby (wall ahead). You can also see a finished wall on the right ready for the plasterboard.
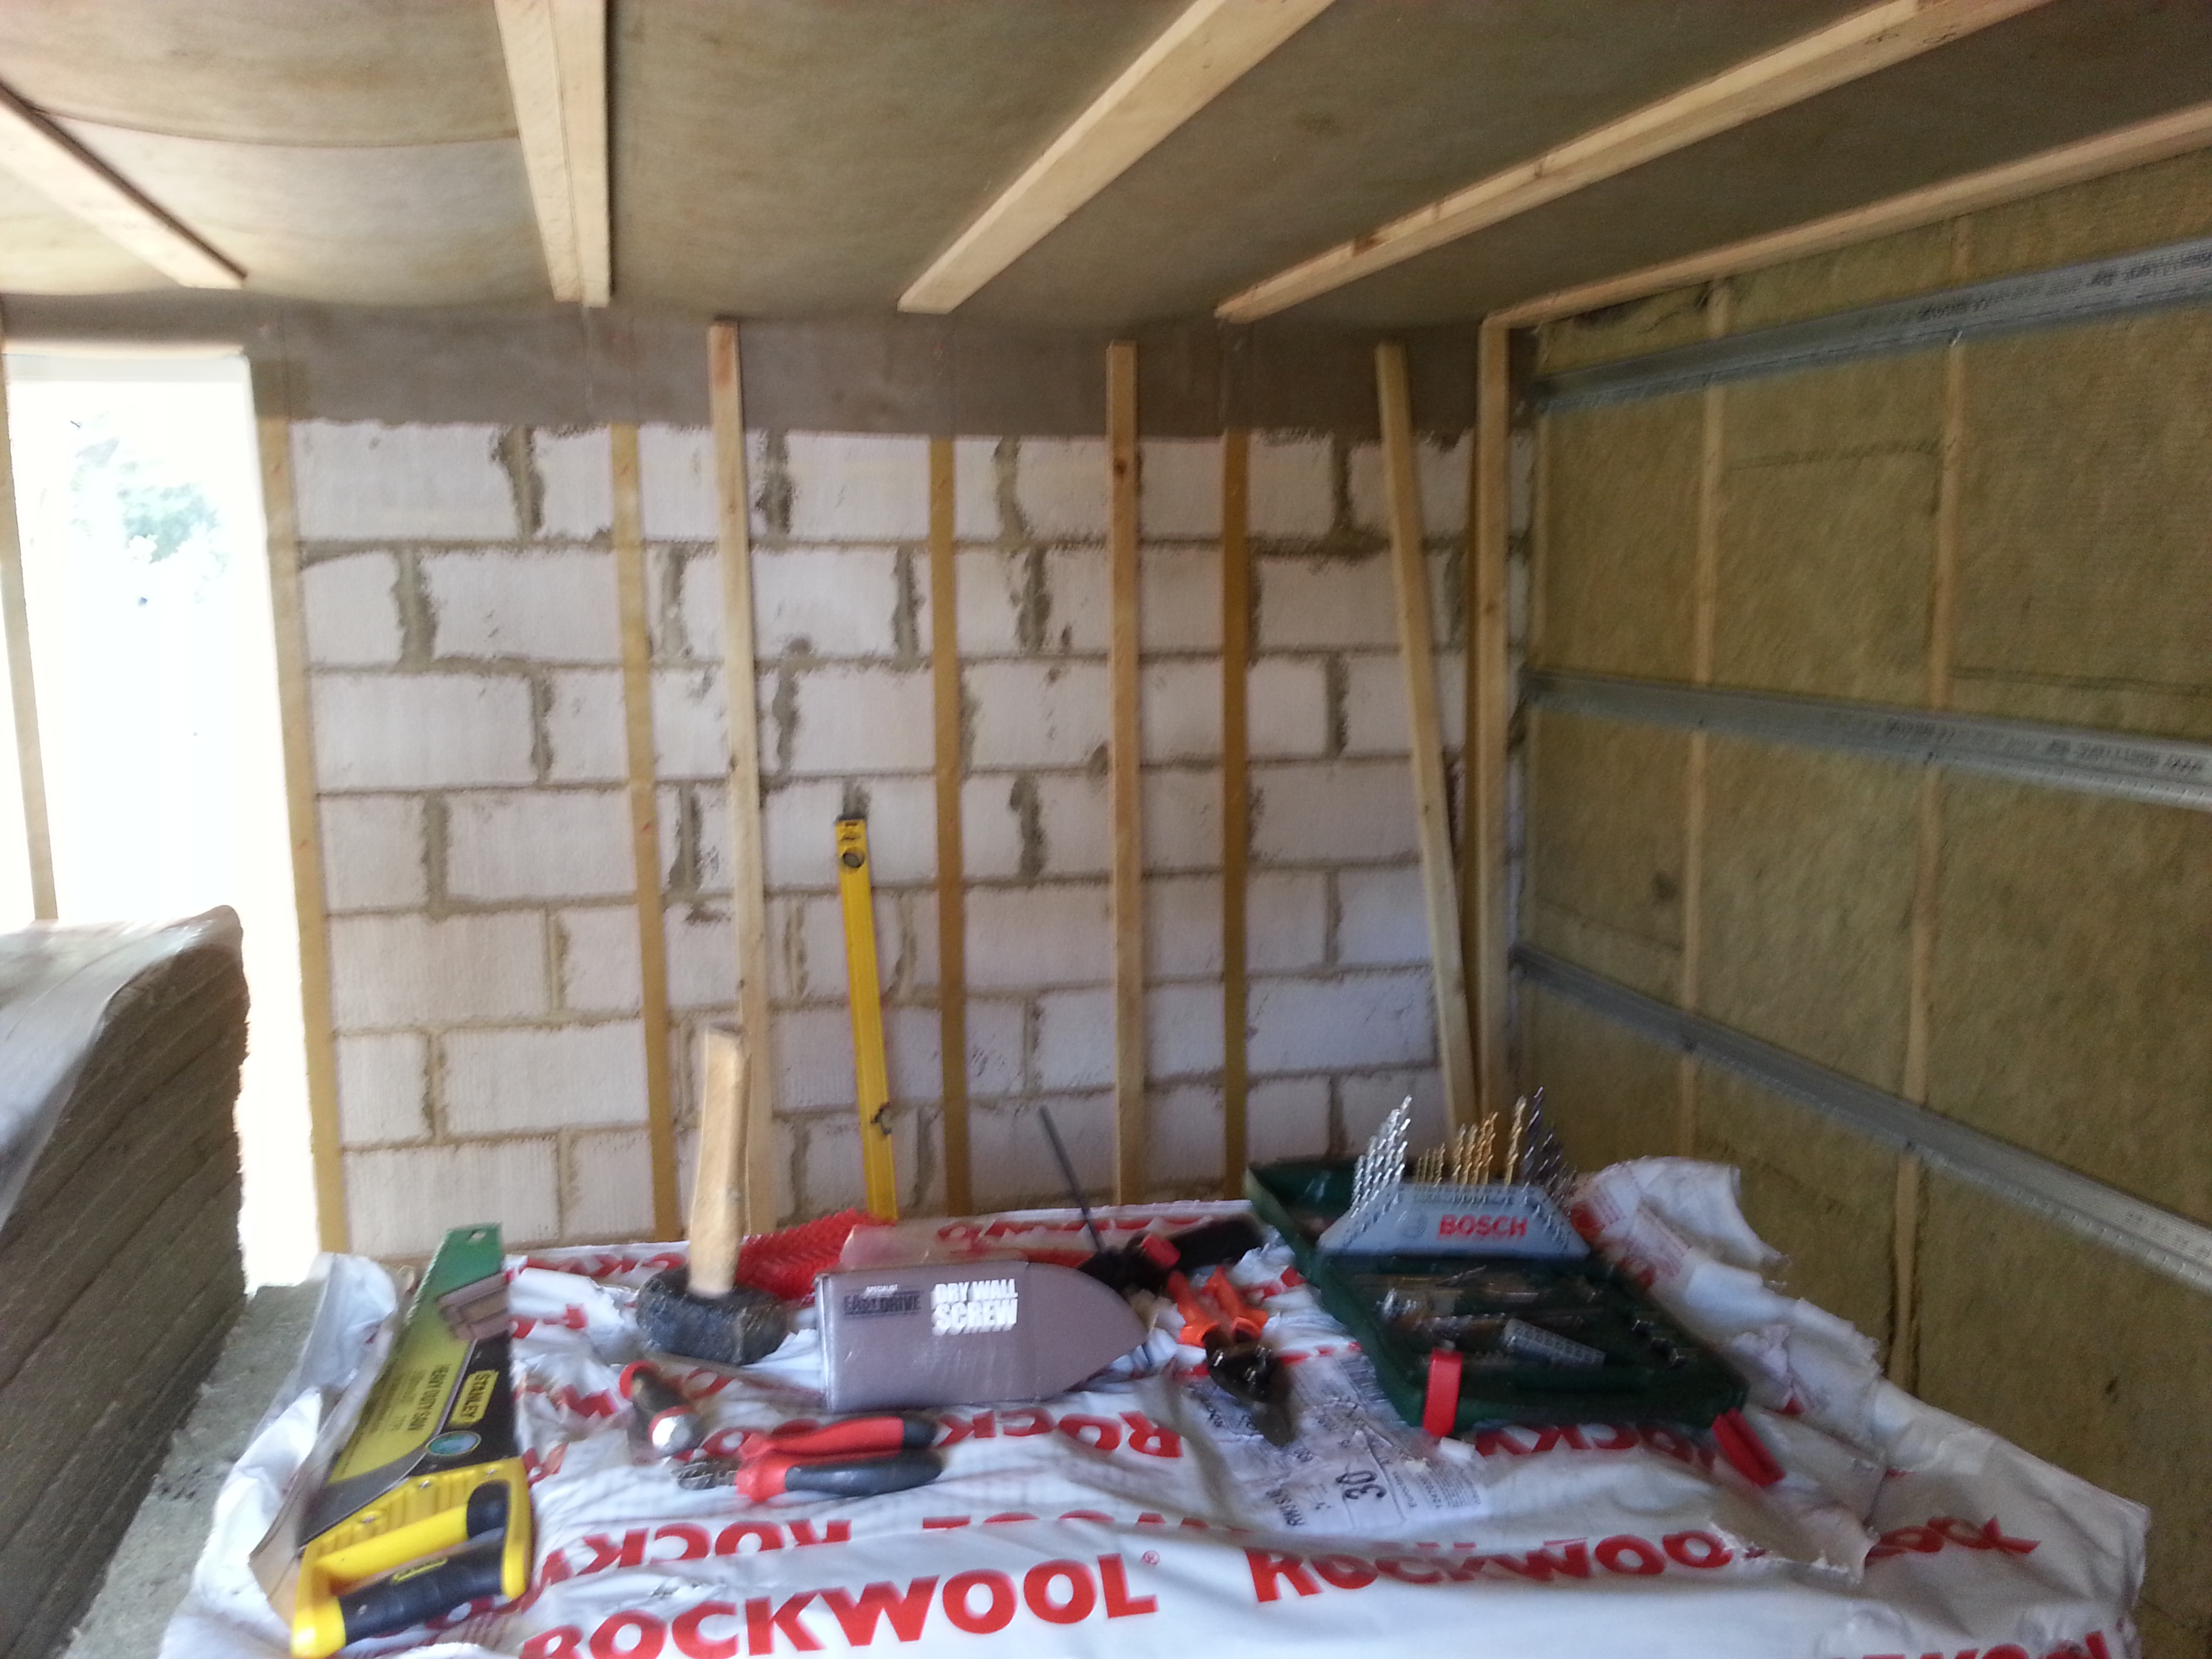
The resilient bar works by minimising the contact between the plasterboard and the wall. Depending on the type it should also have holes cut along the angled portion so that the plasterboard flange is only held to the wall flange by a series of small metal bridges. The bar is mounted at 90 degrees to the battens to minimise contact. Compression fitting dense fibreglass between the battens to damp down any sound transmission within that cavity.
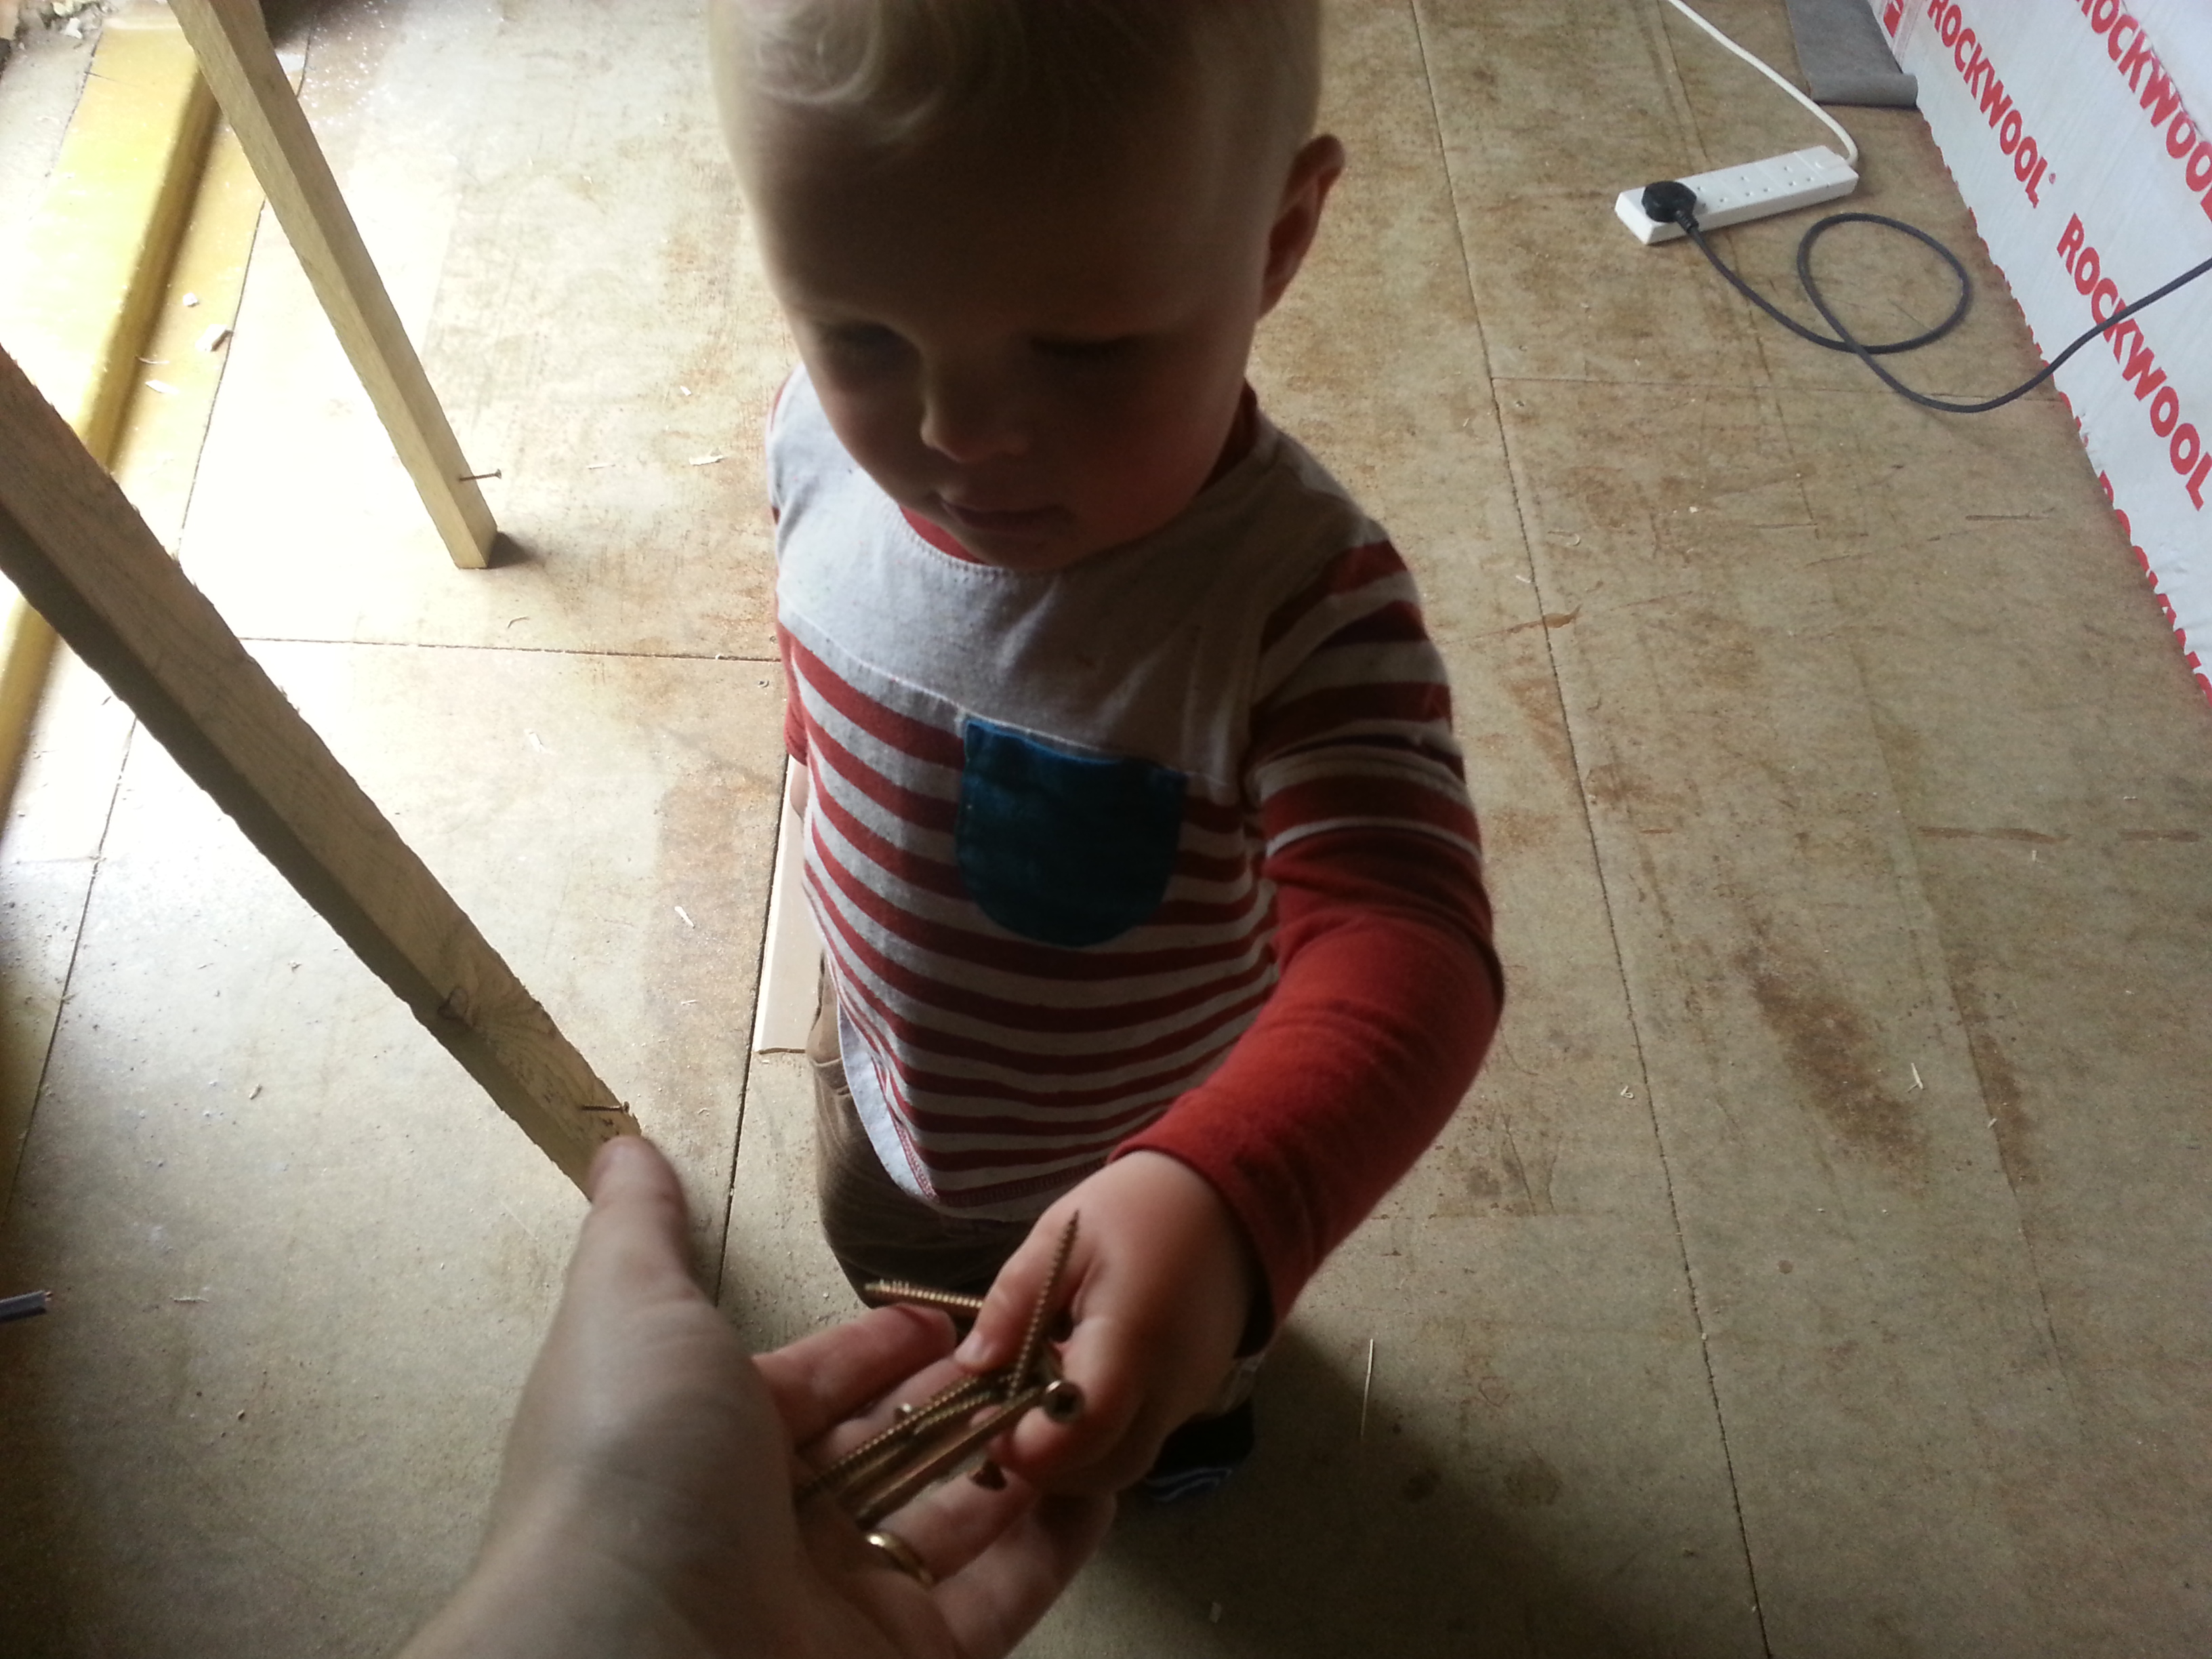
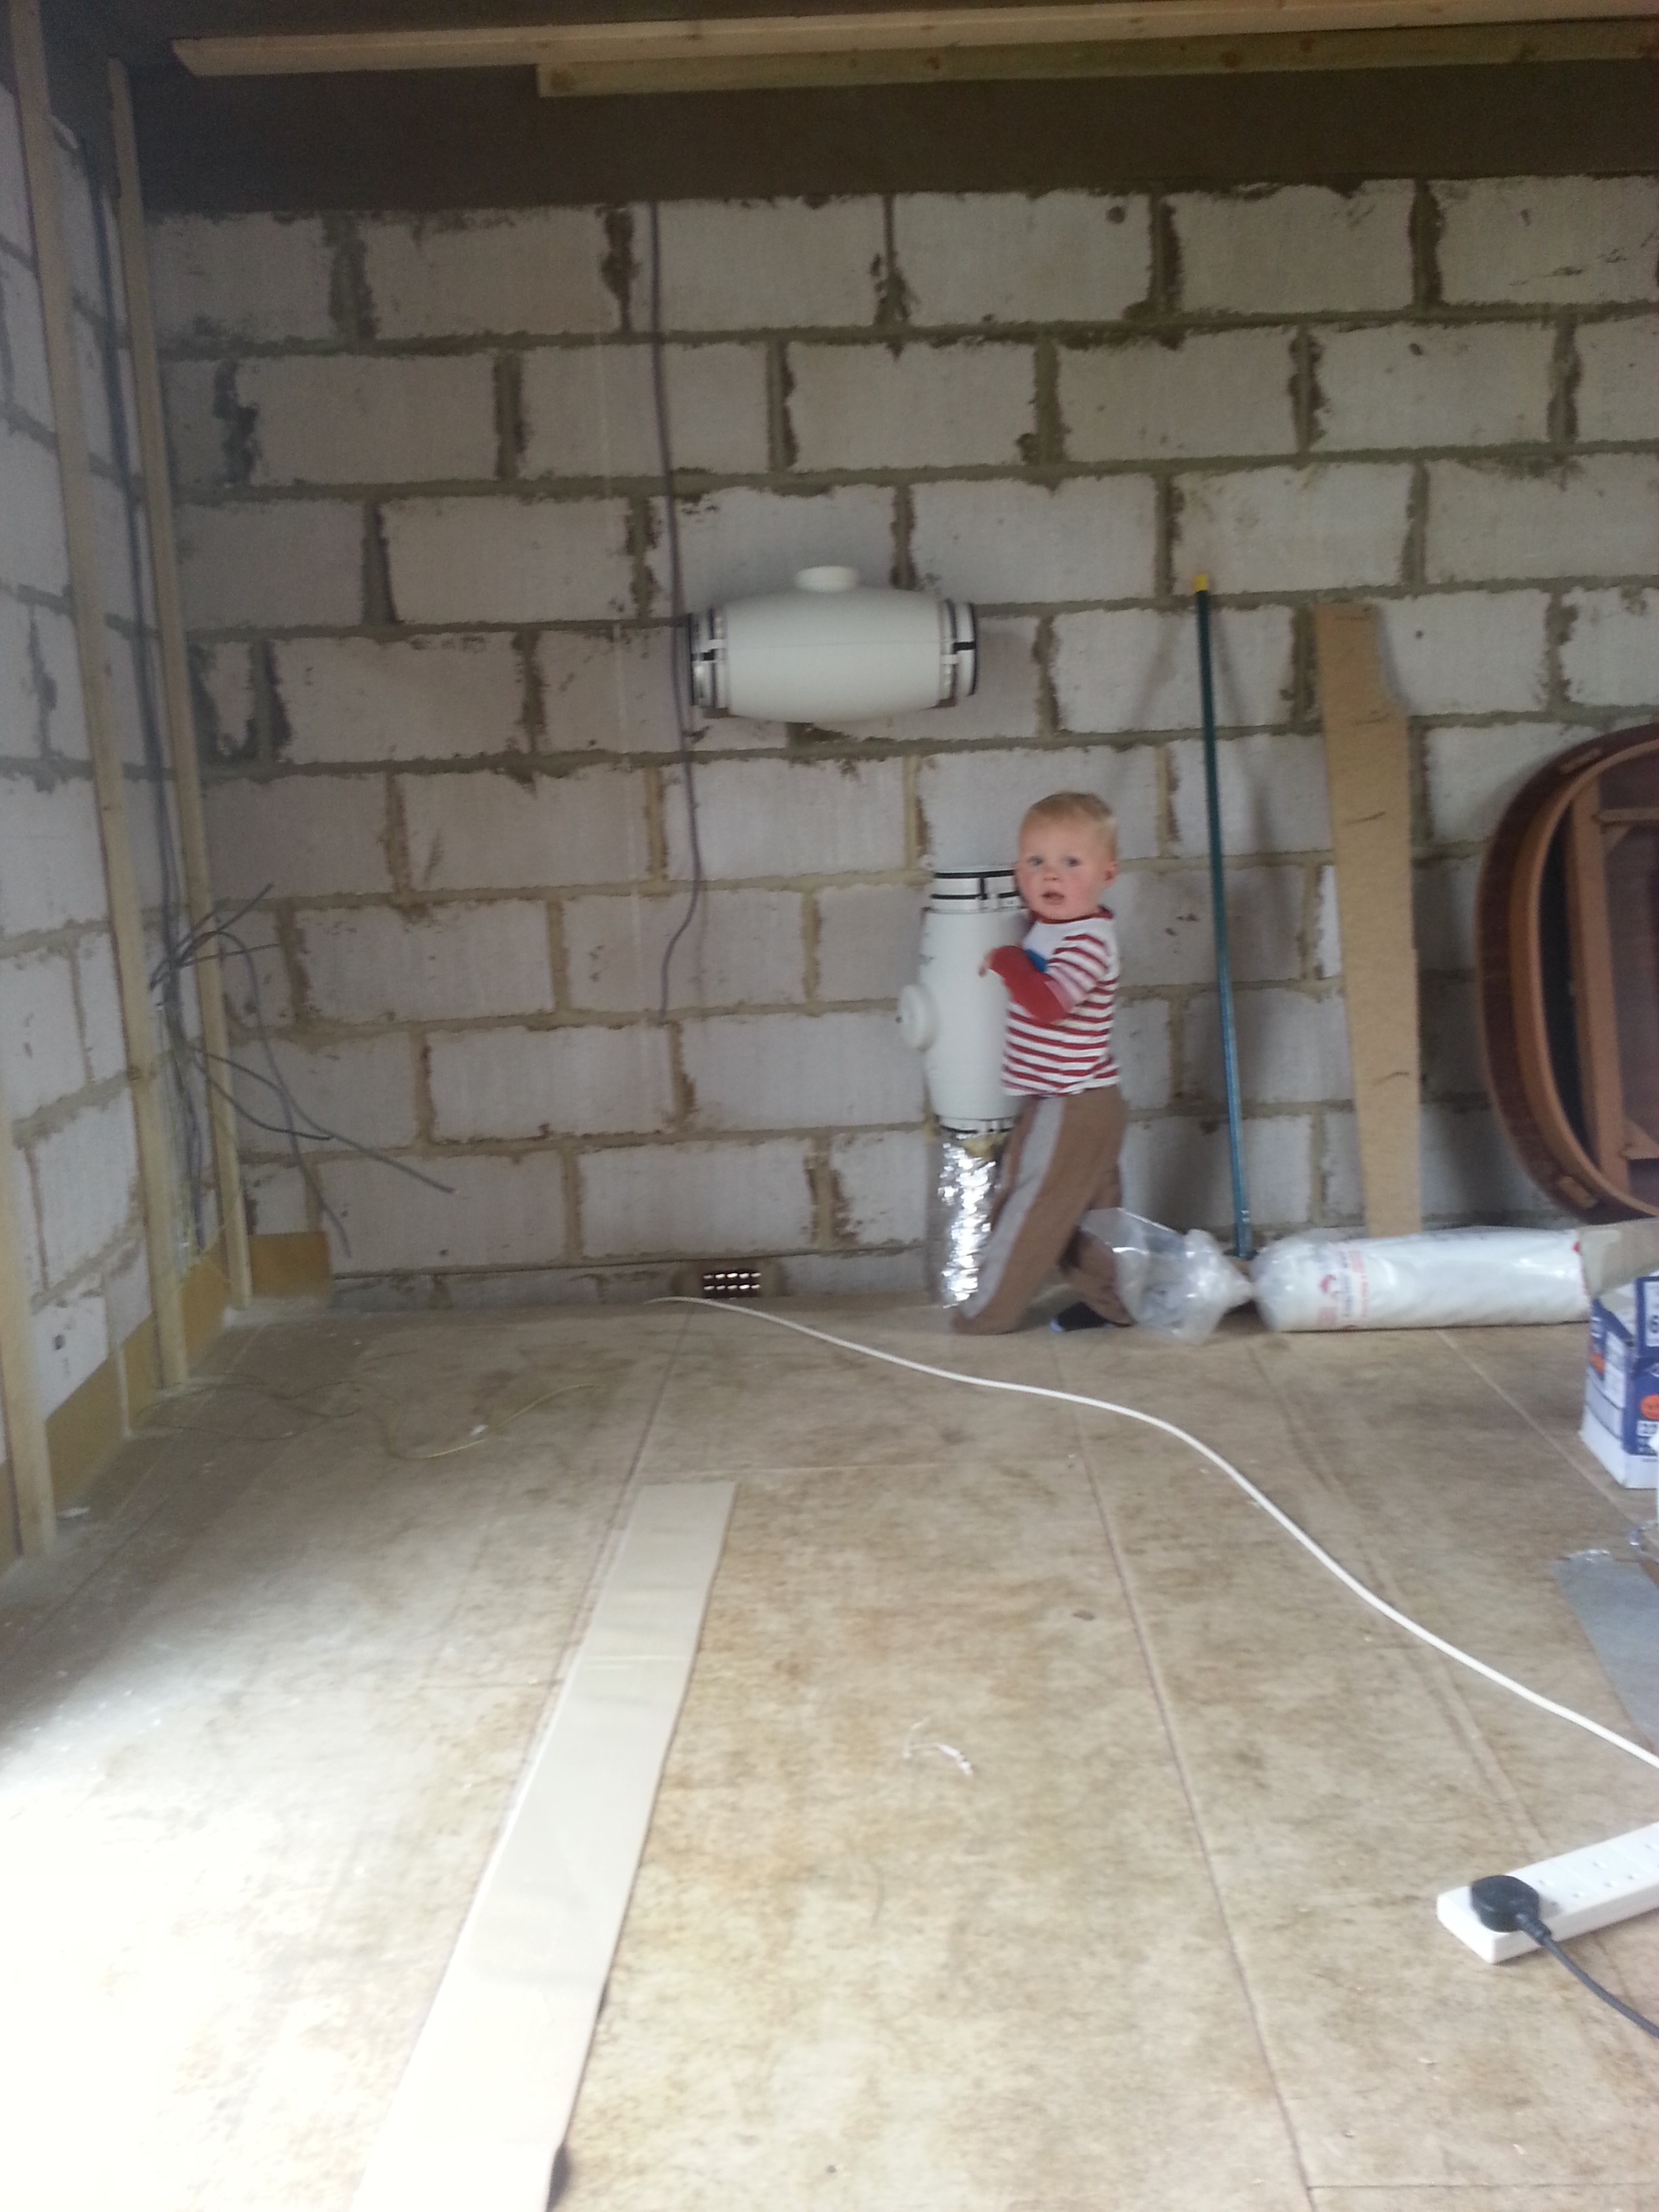
My son was a genuine help through this phase handing me screws and running off with my drill or screw bit when it wasn’t in the combi drill. The second photo here shows where the fans go including the one that pulls nice cool air from under the floor. The top one will blow air out through a hole in the wall. These will both be mounted to a heat exchange and built into the cupboards to draw air in from the top of the cupboards and blow it out underneath.