All posts by Dave

Mixing ‘Let Me In’ by Scott Midlane

Following on from Start to finish song production – Primaluce by Lloyd Jenkins this is about another slightly different type of project for a different songwritter.

Scott has his own recording set up and lives bloody miles away, these tracks are ones sent to me to give the tracks a bit of a lift (melodyne, slip editing, etc…) and to create a polished mix.

Scott is a talented song writer and guitarist / bass player and has been working on an album for some time.  I’ve mixed a number of these tracks for him. So far these tracks have just been instrumentals, but he’s been promising to record vocals for a while now and said he’d not done much before.

This is the rough mix he sent over:

In true style he over delivered.
He said:vocal.
I got: multi part harmony in shifting major / minor key. I pretty much knew at that point I was going to end up writing this one up.

Listening to the original I was imediately taken by how well written the track was, but picked up on a few things that I thought could be tweaked to better show off the song.

  1. The piano had a volume, dynamic and timing profile that did not sound like a live performance, also the piano sample used was not varied enough.
  2. The track was missing ambience, both in terms of the piano’s sustain and reverb.
  3. And finally, the focus on the vocal put it in an unflattering light which made any missenotes more obvious.

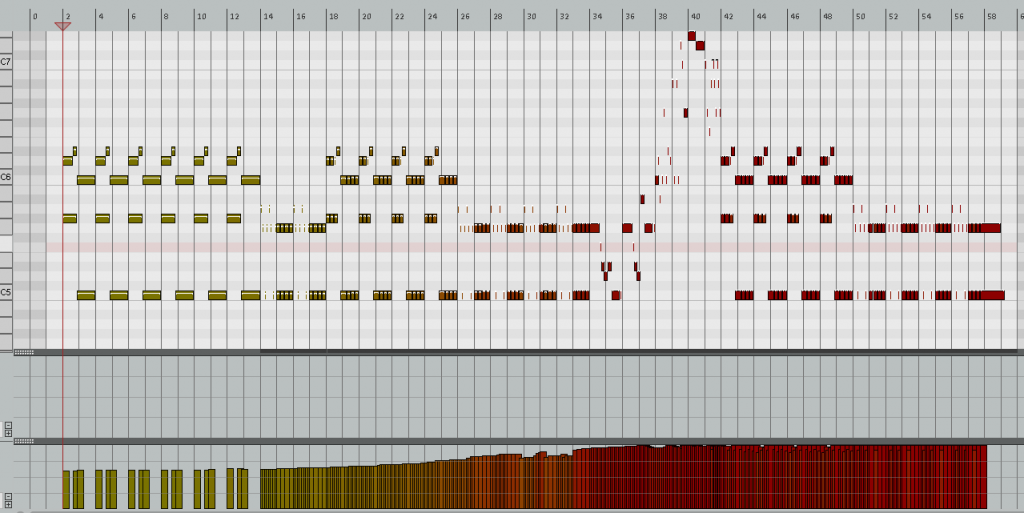
Thankfully I had the piano midi so I bought this up and had a look (click to embiggen)

letmeinmidi

The note lengths, along with the gradual increase in volume told me that this had been written from the piano roll. Nothing wrong with this, I often do that myself for synth parts, but on the piano that was this far forward in the mix it lacked the human touch. To address this I first split the track into two parts perhaps loosely approximating to a left and right hand and then went through each with a view to adding back some entropy.

The issue with the note lengths is a common one, sustain (applied via the pedal) is not the same as holding notes longer. If you look inside a piano you can see how the sustain pedal lifts the dampers from ALL the strings, so even those not struck resonate with the force of neighbouring hammers. It’s a subtle but magical thing which is reproduced well by modern electronic pianos and VSTis if only you send them the right midi information (sustain = cc#64).

To bring back the sustain I wired each midi at a time through my nord stage and then overdubbed just the sustain pedal played manually without quantization. Whilst this actually simulates two performances left then right, it added to the ambience and helped with the humanization.

The results sounded better to me so I kept them, but the intro still sounded like it needed something. So I played it all the old fashioned way.

The resulting piano part sounds like this:

To the finished recorded and combined piano part, I added +2db of high shelf EQ to make it brighter, a compressor (TDR Kotelnikov) and a couple of reverbs – one Convolution based for the Early reflections and one algorithmic for the nice cleaner more constant tail. Unusually for me, I didn’t put a high pass EQ on it, my reasoning being that there was no bass or kick drum for it to muddle with.

There were 5 vocal tracks. I pulled each of these up in Melodyne studio and tweaked accordingly.

Once re-assembled I tried my usual go-to vocal processing which is

  1. Saturate, and high pass.
  2. Take a side feed (which goes through very heavy compression and more saturation and selective EQ)
  3. Combine the two tracks to a third and then put a reverb on the top.

This did not work at all well for the multi part harmonies.

I stepped back and tried something new. I saturated each track a little bit then combined and saturated a little bit more before EQing (high pass plus a -6db notch at  390Hz).

At this point I recalled an audio demo for Voxengo Soniformer which made a barbershop quartet sound like it was performing inside your head. It was a great sound. I wanted that sound. So I set about working out how exactly they had done this. Unfortunately I wasn’t able to find the example again, but from some trial and error I finally got a good result putting Soniformer after a reverb.

Now the harmonies sounding great, but unfortunately the first verse and chorus now sounded weak next to them. I set about ‘doubling’ the first verse by mixing in a couple of copies panned (hard left, hard right), delayed by different amounts (11ms, 13ms respectively) and then pitch shifted (+5 cents, -5 cents, respectively).

I then tucked that back in behind the original at about -9dB in the first chorus (from 0030s until the 2 part harmony started). Subtle but worth it.

Along with the occasional call outs (“Lock the heavy door”) which were simply put through some eq and a mostly wet reverb,  I now had 10 tracks for the vocals:

From here I added a bit more EQ and reverb for the piano (Valhalla DSP’s excellent Vintageverb) .  An overall feed forward compressor (TDR Kotelnikov) and a multiband compressor (IL Maximus) with fairly sparse settings just to get the volume and to bring out some of the highs.

I’m quite happy with the results, let me know what you think:
 

Start to finish song production – Primaluce by Lloyd Jenkins

People often ask me how I go about producing a track. The truth is that there is no one formula or rigid process, however in order to capture those things that have worked for me I’m going to commit to writing a couple of logs of the process that has worked with me and Lloyd Jenkins, one of the customers of Enginehouse Studios. Lloyd has very kindly given me permission to share the details of one of his tracks including part-finished sketches.

Skip to the end! If you can’t wait, here’s the complete backing track:

In this post I’ll show you where I start and what decisions we made on one particular track – Primaluce.

The big thing in what we do here is collaboration, by bringing new ears and performers into the picture, you get fresh ideas and energy.

Lloyd, prolific songwriter that he is, knocked this up whilst on holiday and sent me this from his holiday villa in Italy:

The above is exactly what he sent me with a tad of compression just so the volume fits with the other items on this page.

This is where the collaboration began. On hearing this track I knew I wanted to work on it. I also knew it had to be gentle so I sat in the studio that evening and experimented with a few motifs.

I play to chords, which is damn useful collaborating with guitarists. So, my first step is to work out the chord progressions. The main sequences are:
Intro / Chorus: Em/// C/// G/// D///
Verse: C/// D/// x 3 Em/// G/// A7///

All classic stuff and firmly in the key of E minor / G major which gives me a scale to play in. I took this and improvised, excerpts of which are below:

The Verse ideas didn’t really work, but there were a few notes in the chorus that really resonated with both Lloyd and myself.  We eventually ended up reducing the chorus motif to its essence and adding it back to the intro.

When we both had an available day, Lloyd came to the studio to record the main guitar parts. These would serve as the scaffold for the track and I could add ideas to them to see if they worked or not.

We also decided to gradually step the tempo up through each section of the song.  This was really the only way to make that beautiful subtle intro work with the Hey Jude-esque ending that the track pushed toward.

For the most part we double tracked the guitars and used the inbuilt mic as this gives a quite respectable, bright sound.  The intro however required a more authentic personality so I combined the built in mic with an LDC set to cardioid pointing at the fretboard more than anything else.  These were each panned a little left and right respectively. Finally a bit of reverb and EQ (including a fairly pronounced notch around 1Khz to allow room for other sounds).

By the time I’d added a simple (mostly block chords) piano line and some drums (via the excellent Neumann DrumMic’a library), we had a nicely recorded version of the initial demo that Lloyd had recorded on his phone.

The drum line started as a block pre-recorded pattern from a different drum library and was then heavily customised by hand in the piano roll to keep it moving throughout. There really is no substitute for thinking

At this stage we knew the track still needed a bump to make it memorable. Listening back to other ideas, Lloyd felt that the tune in the chorus improv could be key to this.

By adding those notes from the chorus improv earlier and a couple of notes from a solo violin library we made the track into something that had a personality right form the start:

The final bits of the puzzle were a cello bass line for much of the track, pizzacato strings for the verse and coda, a few additional solo violin notes and a plucked Hohner Guitaret put through a rotary speaker effect to add some animation to the chorus. This last bit was played by hand and left somewhat un-quantized to keep with the relaxed feel of the track:

With that, the complete backing track was now ready for mixdown to create a backing track:

The next step is for the vocalist. If you fancy a shot at it, let me know and I’ll send you a guide vocal.

Coming Soon – the vocals ; recording mixing and the finished result. (pinky swear I will write this up when it’s done)

Check out Lloyd’s other tracks and projects:


Riffing on the sound of Paulstretch

Most of you have probably heard of Paulstretch, an algorithm by Paul Nasca that takes a song and, to utterly bungle the methods behind it, smears it out to a massive length.

One of the things I most enjoy about the resulting sound is this wonderful shimmering effect that the stereo field gets.It’s a bit like a chorus without the detune. It’s the kind of effect that can be used to make this simple child’s toy I recorded:

…into the backing to this track:

It can also turn Justin Beiber into an epic ambient drone masterpiece, but I’ll leave that up to the curious reader to Google for themselves.

Paulstrech’s secret sauce

Having read up on how Paulstretch works, I think the effect which I enjoy is caused by the overlapping windows of stretched sound. In effect, it grabs a windowed chunk of the input, works out the component frequencies of that chunk (FFT), then repeatedly prints out overlapping instances of that window, each time with randomised phases.

The techniques behind some of it’s methods are explained here: http://www.microscopics.co.uk/blog/2010/paulstretch-an-interview-with-paul-nasca/

I’ve seen a few people ask why there isn’t a real-time version of Paulstretch e.g. as a VST or AU. This proved to be more difficult to explain to people than I expected as most people seem to think the problem is a performance issue.

Even if you had a computer capable of running it in real-time, a Paulstretch DAW plugin is not possible for the following reasons:

An audio plugin (e.g. VST) streams audio from inputs (e.g. a vocal) through onward to the mixer. Inherent in that premise is the requirement that the plugin processes a block of audio input into an equally sized block of audio output; you can’t have the playback position moving slower for some tracks than others or the whole band would get out of step.

Paulstretch, on the other hand, is designed to output more audio than it inputs – that’s kinda the point of it. It could not be turned into a VST because it doesn’t fit the problem they solve.

But, dammit, I still want a nice shimmering chorus that doesn’t sound detuned. So I turned my mind to how I could make something that might borrow the sonic qualities of paulstretch in real time.

As I said, randomising phases is, I believe, the secret sauce here. However, randomising phases is not a trivial problem. I mean it’s easy if you’ve already put the sound through some form of transformation like an FFT, but an FFT implies complex processing and delay (in order to give it the required window). So FFTs were out.

Head scratching time – The All Pass Filter

Another thing that can alter phase is an all pass filter. In simple terms an all pass filter is like a low pass or high pass filter except that it lets all the frequencies past. What it does change is the phase relationship between frequencies.

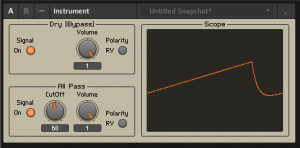
AllPassExample1If you have a suitable tool kit to hand (Reaktor, FL sytrus or anything with an all pass module) you can have all kinds of fun summing an all pass with a polarity inverted version of the same signal in order to re-create low pass and high pass filters. The picture to the left is of a quick Ensemble I made in Reaktor to show how an All pass filters becomes low pass filter when summed with the original signal. The ensemble for this is available here: All Pass Combination Example Ensemble for Reaktor 5. Needless to say, this will not work with the free Reaktor player.

All pass filters see a lot of use in reverb plugins presumably for the random phase cancellation they can create when placed in parallel and inside delay loops.

So I experimented with All pass filters, but I didn’t get the sound I wanted.

To Be Continued…


Making deep hits with a mahoosive water butt

2015-10-11 09.17.42

So, in yet another amusing miscalculation of scale when internet shopping, I bought 3 (three!) s0d-off enormous water butts to collect the rain run off from my studio.

When rolling them down the path to the studio I found their resonance to be pleasing so I managed to fit one through the door of the studio.

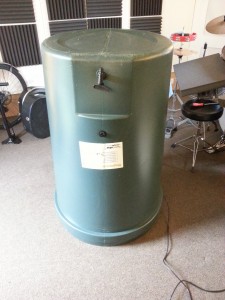
What you see in the picture above is one of said butts with an LDC set up underneath it and the lead popping out the fill hole.

I chose my trusty Rode NT-2A set to Omni mode and set about hitting it with sticks.

The initial results were not worth sharing, however after propping one side up on some acoustic foam it started to sound a bit better. I figure being a closed space was either killing the resonance or putting it too low to be useful. Behold the perfect propped butt:

2015-10-11 09.21.13

Searching about for the perfect implement I found most of them to have too much ‘whack’ in the resulting sound. Drumsticks were quickly discarded, an empty beer bottle showed some promise:


It was only when I took to hitting it with 2 slippers one on the side (soft end first) and one on the top (rubber sole first) that I got the combination of whack and body that I was after.

At this point I realised that there was some potential scope for pitching this down later so I switched to up to 88.2Khz. and recorded a few noises. BTW, these are free to download at soundcloud quality. I’d love to hear what you do with the samples. Please note I’m only granting you permission to use them in musical works and not permission to include them in sample or sound libraries, add-ons and instruments.

After a bit of messing about I made the following samples:

Step 8: Cupboards

I wanted fitted cupboards for all my tools, audio toys and air circulation equipment.

Measure the space and make a design

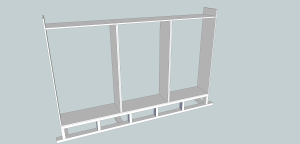
cupboards3bThe talented will spot that there is a problem with my design. Sensible cupboards have a back on them to give them lateral support. Learn from my mistake, add some sheets of whatever is cheap to the back. MDF, OSB, Ply, anything.

From my design I measured all the sheets I needed and took the designs to my local builders merchant. They have an F-off-big saw to make this stuff all nice and square. Do not cut sheets of MDF by hand, it gives off nasty dust and is a massive ball-ache.

Got Wood?

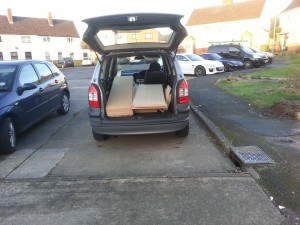
So, I managed to get it all in the car and get it home. TravisPerkins did all the hard work sawing it up. 20p a cut, oh my god that is worth it.

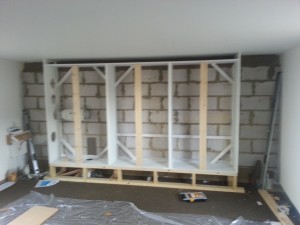
Next up, I started assembling my design and quickly realised my mistake. Without a back plane there was nothing to stabilise the whole thing. By the time I’d realised the merchant was shut, for some reason I lost it and put corner braces in. To this day, I’m not sure why.

By the time I’d finished it looked like this:
IMG_20140201_152131
The vertical struts are for the doors to close against. The corner braces are because I am new to this.

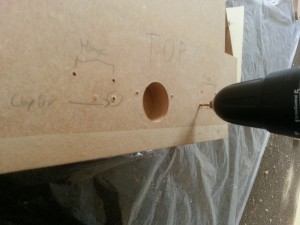
The rest of this went well, I was particularly proud of the drill stencil I made for the hinges.IMG_20140209_094106

Step 7: Floor covering

So, in this episode, our intrepid studio builder wants to cover his floor in something comfy.

Considerations including:

  • Having made a wonderful wooden drum out of his floor we now need to deaden it.
  • Having a low ceiling there’s a chance the room will make a nice comb filter floor to ceiling, so I need to deaden that too.

The logical choice therefore was carpet to stop reflections in the room with a sound stopping underlay to deaden the floor itself acting as a drum.

I chose to use a commercial grade rubber backed carpet (like you get in shops) on top of a product intended as a wood / laminate underlay, and I’m bloody glad I did.

To be precise, the underlay was part code A300 from customaudiodesigns.co.uk

The combination has worked a charm, there’s virtually no resonance from the wooden floor at all.

So what about the process of putting it down.

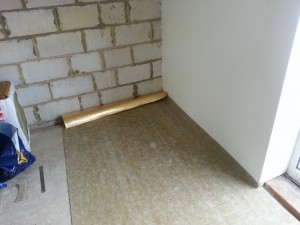
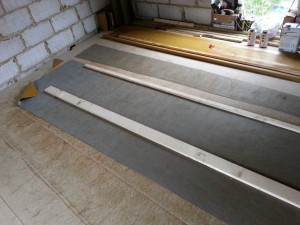
Step one was rolling out the underlay:

2013-12-08 14.52.46
Arriba Arriba…
underlay, underlay
…Underlay, Underlay


MAKE SURE you sweep up thoroughly before you start this, bits of grit can perforate the foil. This is more of an issue for laminate floor which doesn’t like damp coming up from below.

As you can see, I rolled the 2 intact stripes, foil side down along each side and then did the mucking about with the bits that needed cutting in the middle. The idea was to lap up the walls and hide this seam behind the skirting.

I used spray carpet adhesive to glue the foil to the floor and stop it moving. Once I’d cut the middle strips of underlay to size and laid them out I then used foil tape to attach it all together. This also worked well and was easy enough to do.

I was pretty damn chuffed with the finish of this layer, so proud in fact that I totally neglected to take a photo. What a twat.

What I also lack photos of are the next steps, putting carpet down is fairly clear, it came in a roll, I rolled it out and used more spray adhesive to fix it to the underlay. I paid special attention to where my office chair was going to go as the wheels on those tend to ruck carpet up.

EDIT: About a year on the carpet is now rucking up under the office chair even after I used a metric s**t-load of glue. I’m wondering whether it’s pulled the underlay up and is causing both to ripple, but without taking my nice floor apart I’ll never know.


Step 6: Paint all the things and second fix

Not much to comment on here other than it’s better to paint the walls and ceiling before putting the final floor covering down. Common sense really.

I painted the walls and ceiling with the same very slightly off white colour.

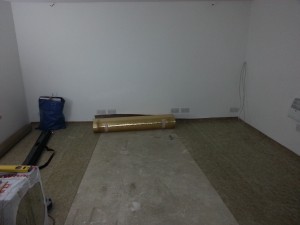
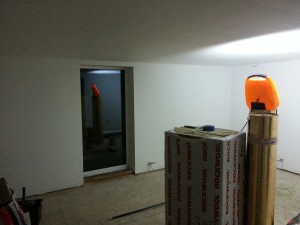
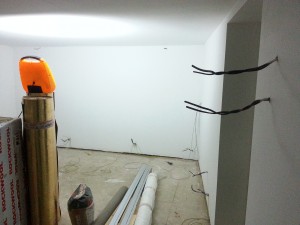
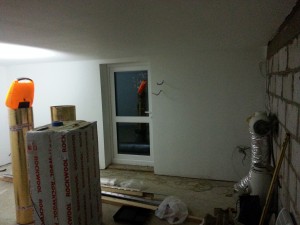
Here be pictures of painted walls.

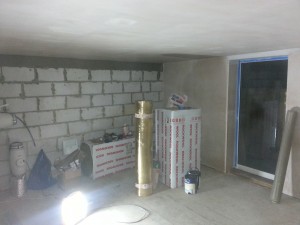
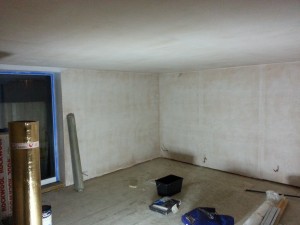
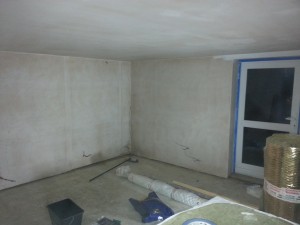
2013-11-28 17.32.55 2013-11-28 17.33.02 2013-11-28 17.33.14 2013-11-28 17.33.29 2013-11-28 17.33.46


Second fix electrics went without  a hitch. At the last minute I added a separate, dedicated earth wire from each of the clean ring sockets back to the board. I did this in a vague attempt to minimise earth loops. My understanding is that this is close to a star earth, although I’d welcome comment from someone who knows more about this. I hid it under the plasterboard and stuck it down where it ran across the base of the door way.

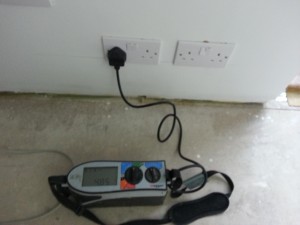
Once we were done I wanted to know what the resistance was on the earth. The maximum acceptable for Building regs is 50Ohms. I asked a tame sparky with the right gadget to come and check my wiring and earth ratings. Turns out I had achieved 4.85 Ohms. Job well done.

2013-12-02 19.19.242013-12-07 14.55.40

Step 5: Plasterboard and sweet pink plastery goodness

Not much to report here. After the last post I also added res bar to the ceiling.

The biggest concern going is DO NOT SCREW THROUGH THE PLASTERBOARD INTO THE BATTENS. If you do, you will add an acoustic brige and that res bar is suddenly useless (not to mention expensive and complicated).

To expand: If the screw touches both wood and plasterboard, they become one joined acoustic surface and any vibration in the wall is now transmitted straight into the room.

The only thing I did which was a tad unusual is use Silicone to seal the plasterboard layers to each other. I seem to have gotten away with this but it could have been a big mistake as I really had no idea whether the acetic acid that stuff gives off when curing would mess up the plaster. As it was, I got away with it, although it seems to have had a slightly iffy reaction with the acoustic membrane.

Basically, I should have used something like decorators caulking.

IMG_20131101_151309 IMG_20131101_151244


I got a professional to do the plastering.

I group plastering with golf:

  • You have to do the same, ostensibly boring, thing over and over again.
  • Just one cock up can massively ruin your whole session.
  • Other people are good at it and, perversely, some of them even seem to enjoy it.

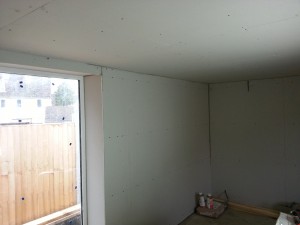
Without further ado, I give you…. pink walls:

IMG_20131112_170848IMG_20131112_170809 IMG_20131112_170829 IMG_20131112_170841

Step 4: First fix wiring and preparing for the plasterboard

Wiring and Earth

I wired my studio to allow for 2 ring mains and some lighting and fans.

All the wires lead back to the corner of the room where the SWA (armoured) cable and the cat5e comes in from the house.

The lighting, fans and one ring used the earth that came from the house. The other Ring (aka: the clean ring) uses a bunch of earth rods and a load of left over concrete reinforcement mesh which I buried around the back of studio. The thinking is that wet soil provides a better earth, so this is all buried near the gutter downpipe. I will pair the guttering up with a load of water buts and a slowly dripping tap to try and keep it at an optimum condition.

Wall preparation, sealing the floor and adding the resilient bar

I wanted 3 walls of the studio covered with plaster, the 4th and final wall has cupboards covering it from floor to ceiling so it doesn’t matter so much how it looks.

In order to achieve the best possible sound isolation, I used a product called resilient bar (aka: resilient channel) to isolate the plasterboard from the walls. Resilient bar is a 2 part long thin sheet of metal which presents two flanges one onto which the plasterboard screws and one that screws to the wall. I recommend you look up how this product works if you’ve never heard of it.

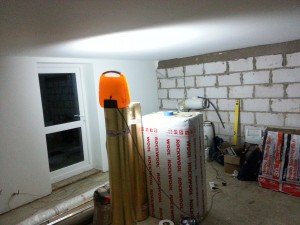
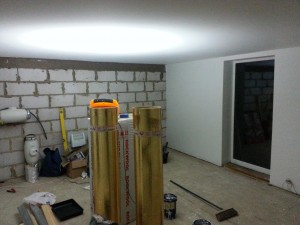
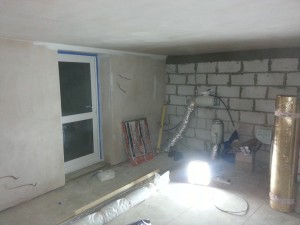
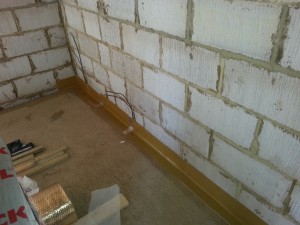
First, I used more of the acoustic membrane (this time the adhesive backed kind) to seal off sound coming from under the floor:

2013-06-08 15.04.17 2013-06-12 20.03.40

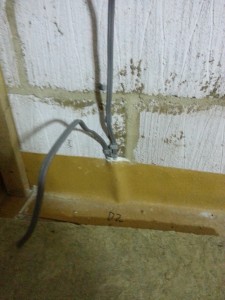
You can see how this also serves to cover where the wires come up from under the floor. “D2” in the picture is a note that I want 2 sockets there and that this is on the dirty earth ring.

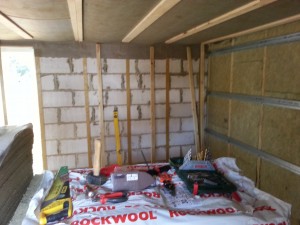
I then battened out the wall, to match the thickness of the membrane I added small additional stripes of membrane and attached the batten to this. In the following photo you can see the strips of membrane with battens resting nearby (wall ahead). You can also see a finished wall on the right ready for the plasterboard.

2013-06-15 16.57.26

The resilient bar works by minimising the contact between the plasterboard and the wall. Depending on the type it should also have holes cut along the angled portion so that the plasterboard flange is only held to the wall flange by a series of small metal bridges. The bar is mounted at 90 degrees to the battens to minimise contact. Compression fitting dense fibreglass between the battens to damp down any sound transmission within that cavity.

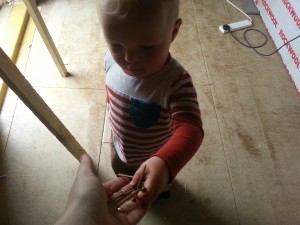
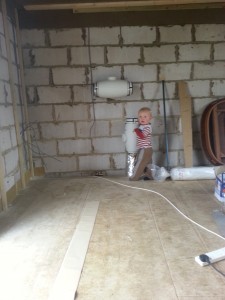
My son was a genuine help through this phase handing me screws and running off with my drill or screw bit when it wasn’t in the combi drill. The second photo here shows where the fans go including the one that pulls nice cool air from under the floor. The top one will blow air out through a hole in the wall. These will both be mounted to a heat exchange and built into the cupboards to draw air in from the top of the cupboards and blow it out underneath.

2013-06-22 13.32.12 2013-06-22 13.34.07

Step 3: Walls and Roof

Buildings are created in layers (just like onions, trolls and parfait – whatever the hell that is).

The first layer you make is the frame that holds the rest of the building up. I went for ‘Standard construction’ which means that the structure is effectively a big ‘ole pile of concrete bricks.

Walls

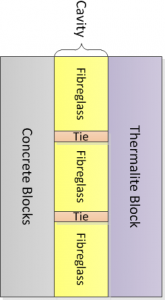
The structural walls for the build are ‘standard construction’ which, in the UK at least, means an inner layer of Thermalite block an air gap aka: ‘cavity’ which contains fibreglass ‘bats’ and an outer layer of Concrete blocks.

To summarise, the walls at this point of progress have this make-up:

OuterWall

I’m not sure if Thermalite is the used lingo outside of the UK. The font of all hearsay refers to them as Autoclaved Aerated Concrete – Snappy. They are effectively light weight bricks with a low thermal conductivity.

Fibreglass bats are basically flimsy sheets of fibreglass quilt that have a constant width (typically ~ 70mm to suit the cavity size) and squared edges to allow the builder to tessellate them when inserting between the two block layers. The other height and length dimensions of the bats are chosen to allow wall ties (stiff metal wires that sit in the mortar at each end and connect the 2 block layers) to be placed at regular intervals. The wall ties tie the Thermalite blocks with the Concrete blocks to keep them the cavity distance constant.

Concrete blocks are as simple as they sound (and bastard heavy).

The principle advantages of this form of construction are:

  • Obvious structural integrity.
  • Thermal Insulation – both the thermalite block and the fibreglass are good insulators.
  • Copes well with rain and damp, the cavity allows any wet to run down the inside of the concrete block without getting to the Thermalite block. The presence of the fibreglass batts doesn’t interfere with this too much.

This form of construction has fairly little acoustic benefit beyond being a large mass.

You can get Acoustic wall ties. Adding these would reduce the transmission of noise through the studio walls. They would not have any effect on the acoustic treatment of the internal studio space. I didn’t use these ties, so I can’t comment on the cost or ease of installation.

 Action shots

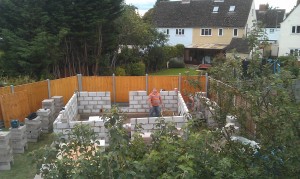
In the first photo we’ve only started work on the outer skin of Concrete Blocks.

2012-09-28 16.34.57

Roof

The Roof, as mentioned before is a fibreglass, flat roof construction. There are at least 2 ways of making a flat roof: Closed and Open.

Closed roof design places the insulation above the rafters, but under the final roof deck. The roof insulation is therefore closed off to the room and the humidity that will come from the room will be stopped below the insulation (where it wont condense because it is still warm).

Open roof design places the insulation between the rafters. This typically means that the insulation is open to humidity coming up from the room. It also means that the humidity will come into contact with the cold final surface of the roof. This needs to be mitigated by ventilation to stop it dripping back onto the top of the ceiling.

Open flat roof designs are definitely inferior from a thermal insulation perspective as the rafters bridge the insulation. Their only saving grace is that they are not as tall.

Due to the permitted development laws that I’m using instead of having to apply for planning permission I am constrained on the total height for the build. This is a bit of a pain as a bigger volume of the studio would help with the quality of the sound within.  In order to retain as much usable space as possible, I have opted for the basic open roof design. To be frank, a closed roof design would have meant that my studio was only suitable for children and little folk as I can easily jump and hit my head on the plaster now.

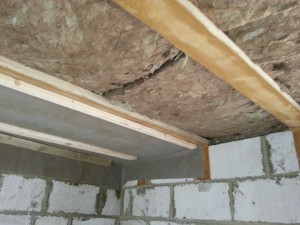
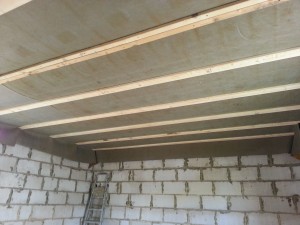
I have however tried to mitigate the acoustic and structural shortcomings of this design. In order to do this I have placed a membrane of high density acoustic membrane BELOW the rafters. As well as stopping the transmission of sound this is a vapour membrane which means that the moisture no longer contacts the cold inside top surface of the roof.

To summarise, the roof structure looks like this (click to embiggen)

OuterRoof

The scale there is way out – The I Beams are 100 mm wide and have a gap of 500 mm between them (i.e. 600 mm centres) but it shows how all the bits fit together.

Another thing that is not shown is that between the I beams and the ply roof deck are items called ‘Tapers’ these are wood and  run along the length of the I Beams in such a way to ensure the deck slants so water runs off.

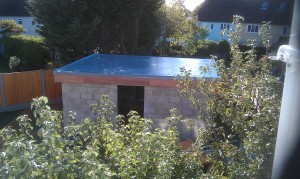
The view from the outside:

2012-10-16 15.20.02

The following photos show how the Acoustic membrane was added to cover the dense fibreglass:

2013-05-20 17.46.36 2013-05-20 17.47.39 2013-05-25 14.36.37